
🎬 Video Editing for Instructional Designers
🎯 Why Video Editing Matters in Instructional Design
Whether you’re creating eLearning modules, explainer videos, or short-form learning content for social platforms, strong video editing can elevate your content from passive to engaging. Good editing helps structure the message, keep learners focused, and add clarity without distraction.
Over the years, I’ve used both professional tools and simpler alternatives. Here’s what I’ve learned: what works when, and how to make the most of your time and tools.
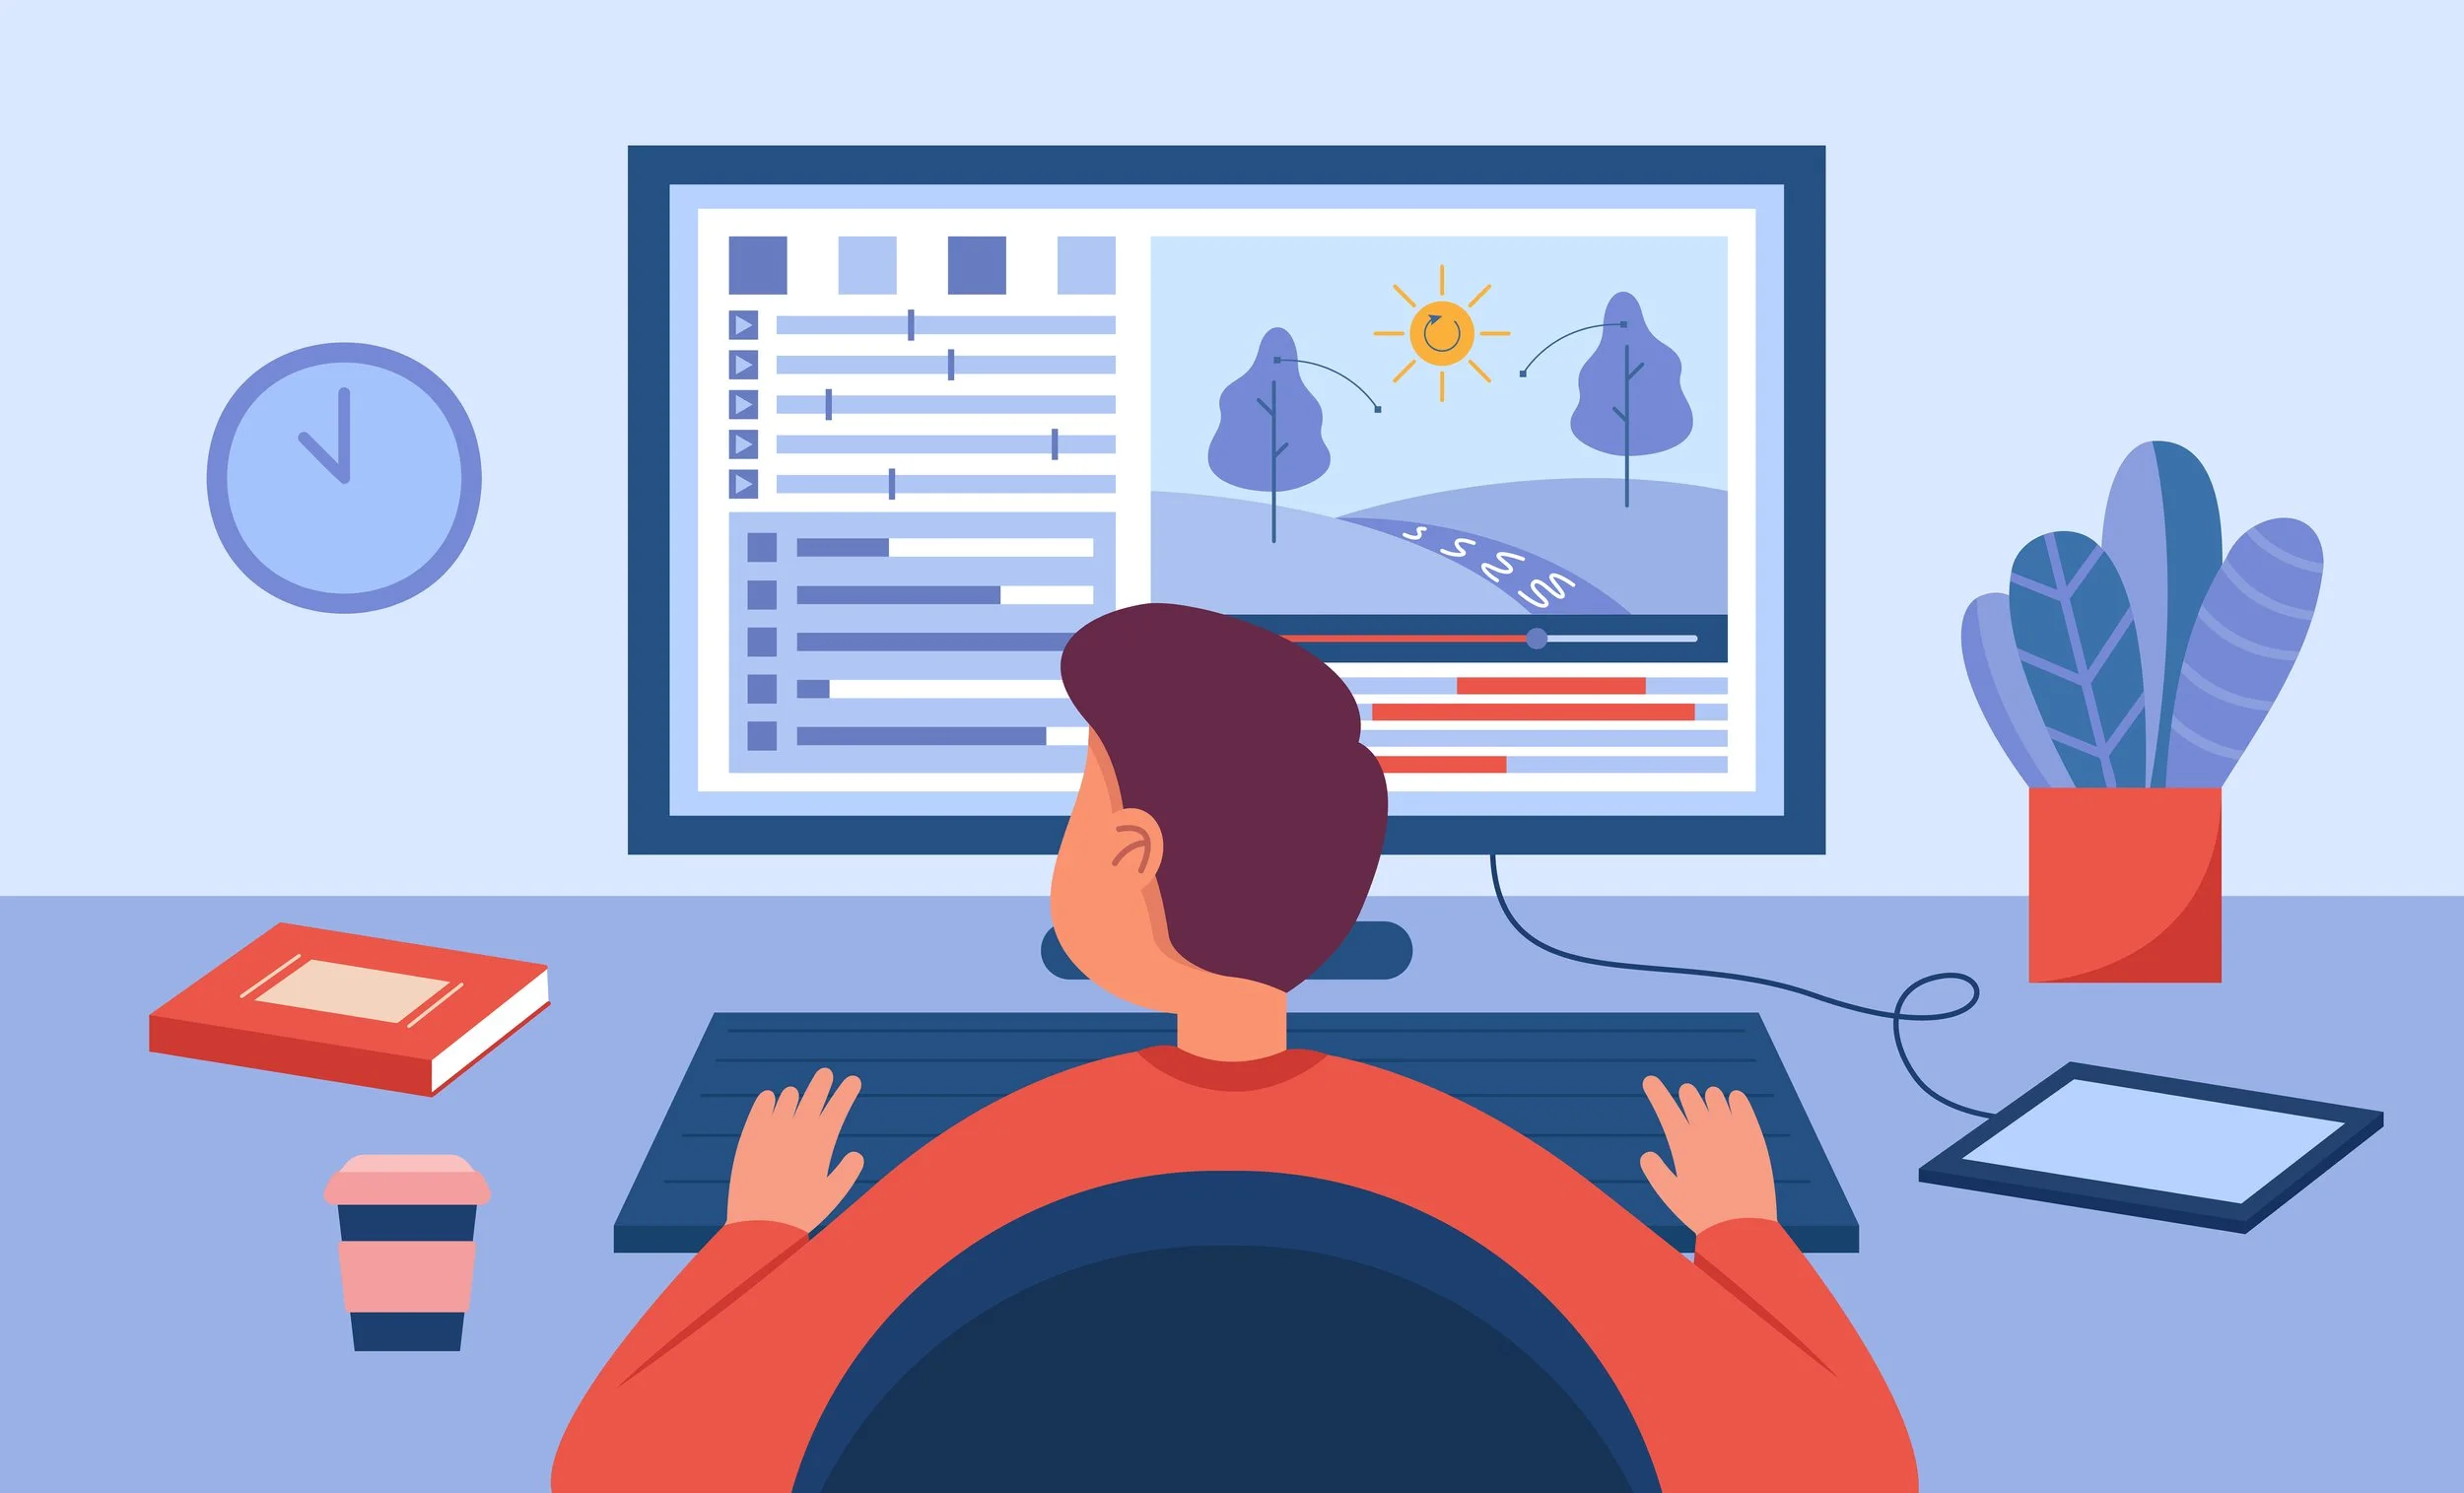
🖥️ Adobe Premiere Pro: When You Need Full Creative Control
Premiere Pro offers unmatched flexibility for advanced instructional videos, but it comes with a learning curve. Here are my best practices for getting the most out of it:
🗂️ Plan Before You Edit
Planning your video helps you avoid confusion, rework, and wasted time during the editing process. It’s especially important in instructional design where your video content needs to follow a logical flow and meet learning objectives.
✅ Create a visual storyboard: Sketch or outline each screen or segment. This helps you visualize the sequence and plan transitions or interactions.
✅ Write a script: Include narration, text on screen, and any specific timing. A script makes recording smoother and ensures clarity.
✅ Estimate timing: Break content into sections with approximate durations to stay within your desired video length.
✅ Identify B-roll: B-roll is supplementary footage (like a demo or cutaway) that supports your main content. Plan where it fits for visual interest.
✅ Plan your shots:Think about framing in advance:
Close-ups show detail or emotion and work well for explanations
Medium shots are great for talking heads or demonstrations
Wide shots establish context or show full environments
B-roll adds variety and keeps visual flow interesting
📌Why it matters: This preparation gives your video a solid foundation. It makes editing faster and more strategic, ensures each section aligns with your learning goals, and adds visual interest by combining different shot types for a more cinematic, professional feel.
📁 Stay Organized from the Start
When working with video, a disorganized folder can quickly lead to confusion or errors. Organizing files from the start saves time and makes your editing process smoother.
✅ Create folders: Separate your files into clearly named folders: Footage, Audio, Graphics, Exports.
✅ Rename files: Give each file a descriptive name like "voiceover_intro.mp3" instead of "audio001.mp3." This helps you find things quickly.
✅ Import folders into Premiere: If using Premiere, import the entire folder structure so it mirrors your organization inside the editor.
✅ Use bins: In Premiere, bins are like folders. Create one for each section of your storyboard so your timeline stays organized.
📌Why it matters: Organized files help you stay focused, reduce stress, and avoid mistakes—especially on longer projects with multiple assets.
✂️ Keep Transitions Simple
Transitions help guide learners from one idea to the next. But using too many effects can distract from the content.
✅ Simple cuts: Use straight cuts when the next scene is closely related to the last. It keeps the pace natural.
✅ Cross dissolves: These are helpful when shifting time or place, giving a sense of smooth change.
✅ Use effects sparingly: Only use special transitions if they highlight an important change or concept. Overusing them can feel unprofessional.
📌Why it matters: Clean, consistent transitions keep your content clear and focused, which helps learners follow along without getting distracted.
🛠️ Work Smarter, Not Harder
Premiere Pro is powerful, but knowing a few key tools can make it much easier to use, especially when you're working on larger projects.
✅ Shortcuts: J, K, L let you rewind, pause, and play forward quickly. C lets you cut clips fast using the Razor tool. These save hours over time.
✅ Adjustment layers: These let you apply an effect (like color correction) to multiple clips at once. Just drag it above your clips and add your effect.
✅ Templates: Save a basic project setup (with folders, sequence settings, etc.) so you don’t have to recreate your setup every time.
✅ Autosave: Turn this on in Preferences and set it to save every 5–10 minutes in case the program crashes.
✅ Proxies: If your footage is high-res and laggy, use proxies (lower resolution duplicates) to make editing faster. Premiere will switch them out at export.
✅ Label tracks: Rename tracks like “Voiceover” or “Music” so it’s easy to manage different audio types.
📌Why it matters: These strategies boost efficiency, reduce frustration, and help you produce consistent results, even with complex instructional projects.
📱 Accessible Tools for Quick and Effective Edits
Not every project needs Adobe-level complexity. These beginner-friendly tools are perfect for microlearning, quick how-tos, or social-first content:
🎬 CapCut
Capcut is quickly becoming the go-to app for content creators who edit content on mobile, especially for short-form content like Reels or Tiktoks.
✅ Drag-and-drop editor that’s super intuitive
✅ Built-in text animation and templates
✅ Automatic captioning for accessibility
✅ Mobile and desktop versions
✅ Ideal for short instructional clips or concept explainers
📲 InShot
I personally use this platform for quick mobile video editing. It’s a no frills, basic editor that lets you edit in seconds.
✅ Designed for fast editing on mobile devices
✅ Merge and trim clips easily
✅ Add music, voiceover, or text overlays
✅ Adjust speed and aspect ratio for different platforms
🔧 Other Video Tools Worth Exploring
🖥️ DaVinci Resolve: Professional-grade and free with a cleaner UI than Premiere
🎥 Filmora: Simple, guided editing for beginners
🍎 iMovie: A solid free choice for Mac users
💻 Clipchamp: Browser-based with Microsoft 365 integration
☁️ WeVideo: Great for team collaboration in the cloud
🧠 Final Thoughts
The best tool is the one that meets your project needs, skills, and timeline. I still use Premiere Pro for in-depth projects, but I also lean on tools like CapCut and InShot for quicker builds.
🎯 Start with user-friendly tools to build confidence and editing intuition. As your projects evolve, so can your software.
Your real goal isn't mastering every tool, it's creating videos that connect, teach, and inspire.
💬 Have you found a video editing platform that works best for your ID projects? I’d love to hear your tips and recommendations!